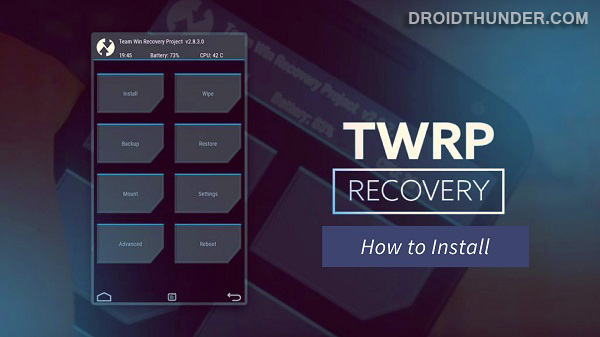
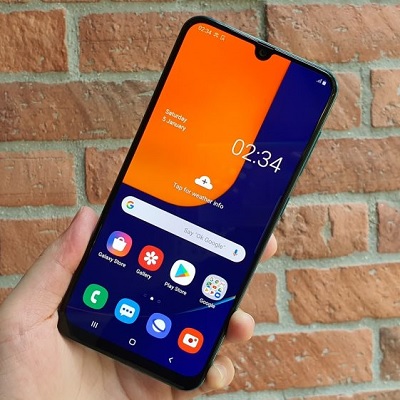
In this guide, we’ll root, unlock bootloader, and install TWRP recovery on Poco X2. Rooting benefits will be completed only when you install TWRP recovery on the Poco X2 smartphone. There are different methods to flash TWRP recovery. You can use Android apps like TWRP manager or Flashify and install TWRP without PC. Or you can even use ADB and Fastboot commands and flash TWRP recovery with PC. The benefit of using apps is that you can easily get new updates once the latest TWRP version is available. Here in this article, we’ll install the latest official TWRP recovery on Poco X2 using ADB and Fastboot method. After flashing TWRP, you can root Poco X2, install custom ROM like LineageOS, Resurrection Remix, etc. Besides, you can even take Nandroid backup which is a backup of your entire phone system.
How to Flash TWRP Recovery on Poco X2
Are you ready to experience the best custom recovery on your Poco X2? If yes, then head on to our step-by-step guide mentioned ahead.
Disclaimer
We at Droid Thunder will not be held liable for any damage. It is recommended to proceed at your own risk.
Pre-Requisites
Charge your phone to 50% before going ahead.To detect your device, install the Poco USB drivers on PC.Unlock the bootloader of Poco X2 before flashing TWRP.For safety, take a backup of your phone data and settings.
After implementing all the above steps, let’s start the process to install TWRP recovery on Poco X2.
Steps to install enable USB debugging & OEM unlock
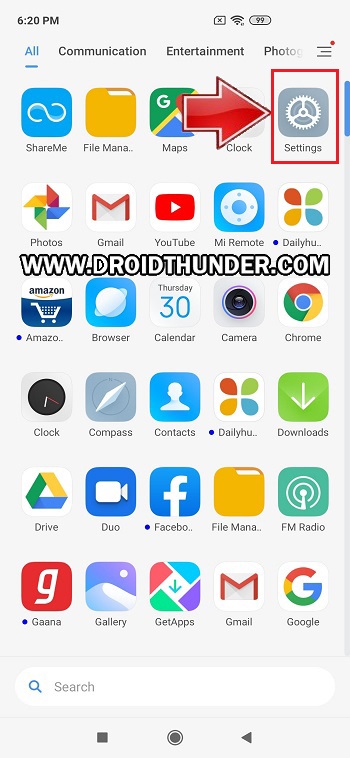
Go to Settings.
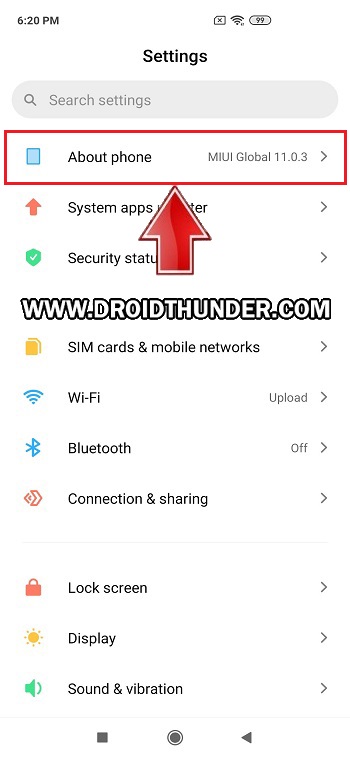
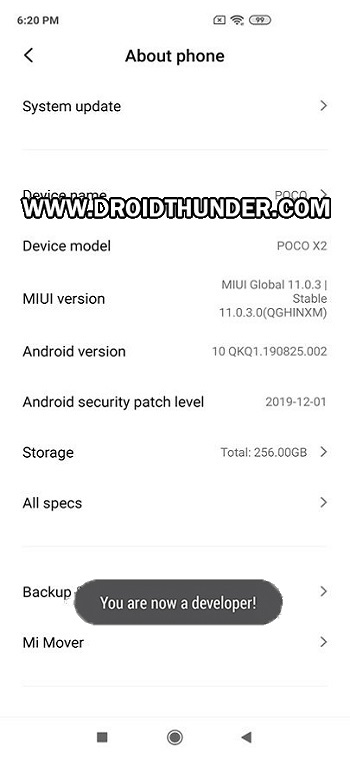
Open About Phone section.
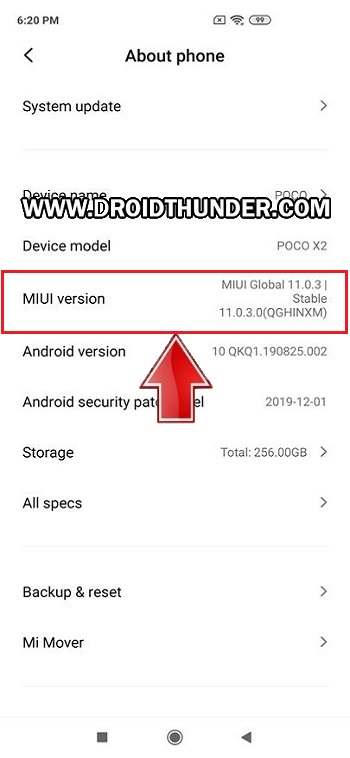
Scroll down and tap 7 times on the MIUI version.You’ll see a countdown message saying, “You’re 4,3,2,1 steps away from being a Developer”.
Tap on it until a message saying, You are now a developer appears as shown below.
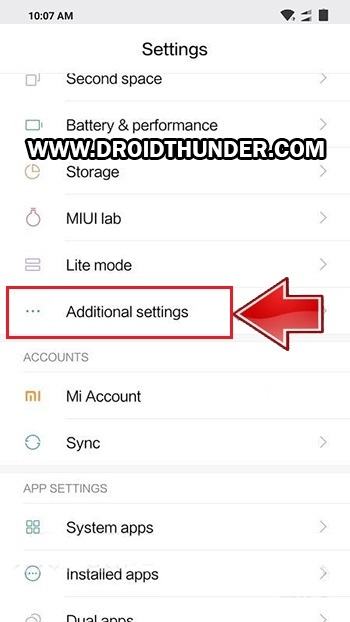
This will enable the hidden developer options in your device settings.Go back and open Additional Settings.
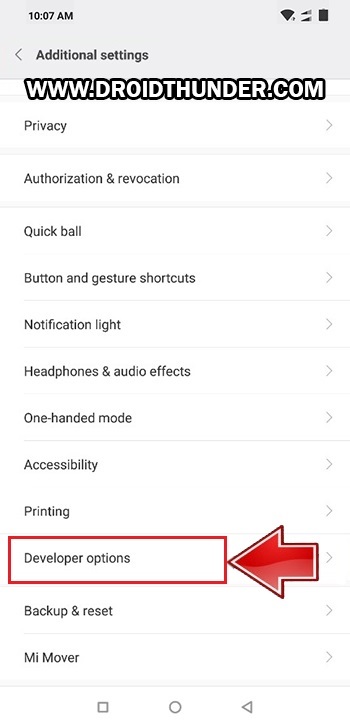
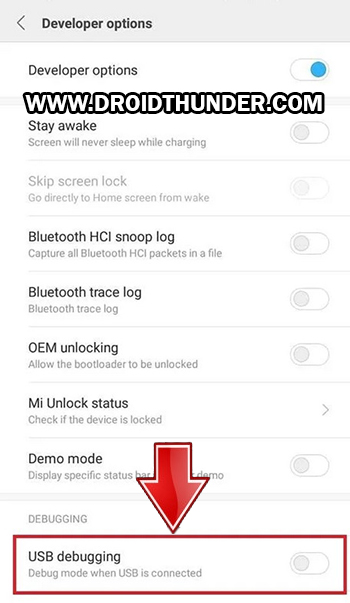
Scroll down and open Developer options.
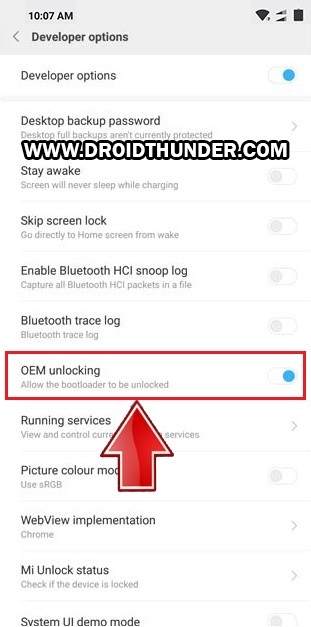
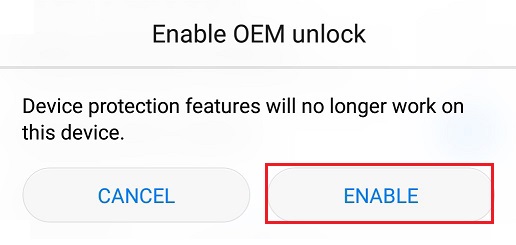
Under Developer options, enable the OEM Unlocking option.
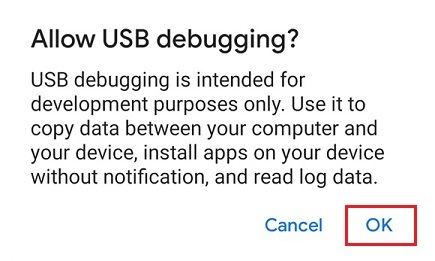
Scroll down and enable the USB debugging option.
Downloads
ADB & Fastboot TWRP.img
Steps to install TWRP Recovery on Poco X2
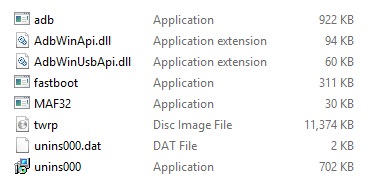
Install the ADB drivers on the computer. Copy this TWRP.img file to the location C:\Program Files\Minimal ADB and Fastboot folder (where you’ve installed the ADB and fastboot).So you’ll see the below files in the ADB folder:
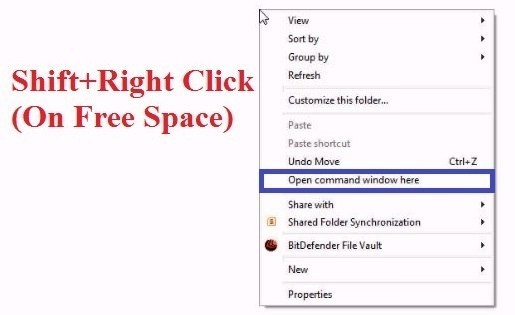
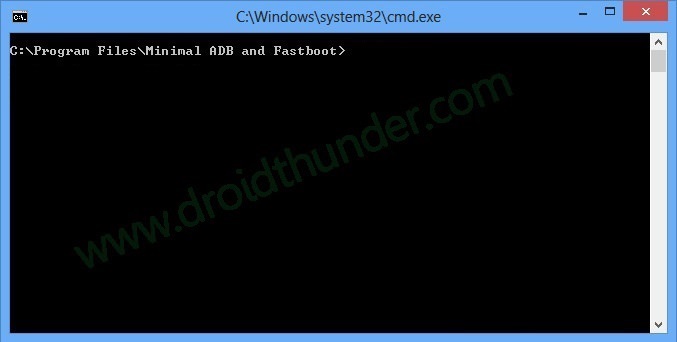
Connect your Poco X2 to PC via USB cable.Go to C:\Program Files\Minimal ADB and Fastboot folder, hold the Shift button and right mouse click on a space.You’ll see a list of options from which select Open command window here option.This will launch the cmd window as shown below.
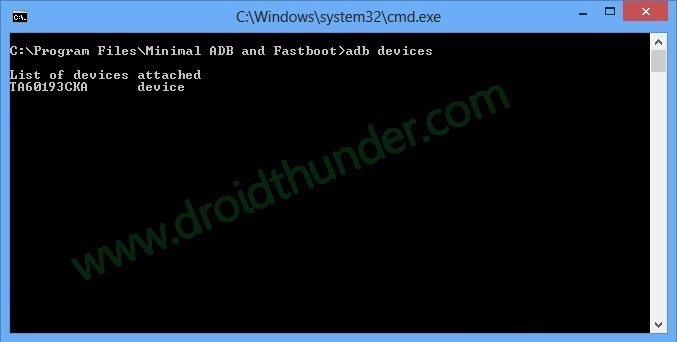
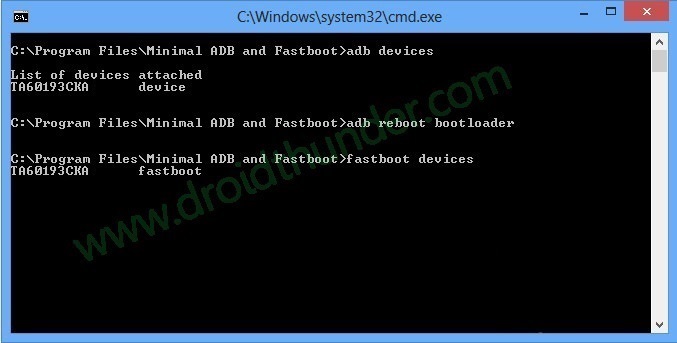
Type the following command in the cmd window and press enter key:
adb devices
As soon as you hit enter, a message saying ‘List of devices attached’ will appear. This will confirm that your phone is successfully detected by PC.
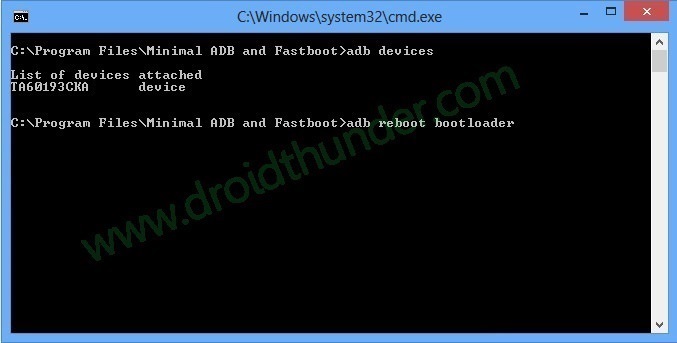
If such a thing doesn’t happen, then again install USB drivers. If the problem persists, change USB cable, or USB port.Furthermore, type the following command to boot Poco X2 into fastboot mode:
adb reboot bootloader
This will restart your phone into fastboot mode.To verify whether fastboot is functional or not, enter the following command:
fastboot devices
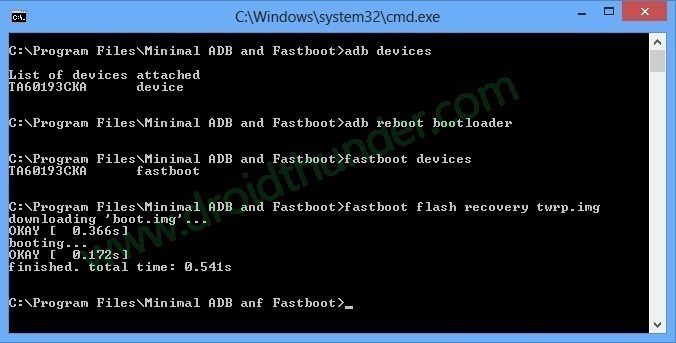
Some random numbers will confirm that fastboot is functional.Let’s start the flashing process.To do so, enter the below command:
fastboot flash recovery twrp.img
As soon as you press enter key, the TWRP recovery will be installed on your Poco X2.
Steps to Boot Poco X2 into TWRP recovery mode
Power off your Poco X2 completely until it vibrates.Press and hold the Volume up + Power button simultaneously until the recovery mode appears. As soon as the TWRP logo appears, let go of both the keys.Finally! This is how you can restart Poco X2 into the TWRP recovery mode.In case if you are unable to restart your phone into recovery mode, use the TWRP Manager app.
Conclusion
Finally, you’ve successfully installed TWRP on Poco X2 without root. For any queries or suggestions, kindly use the comment box given below. Notify me of follow-up comments by email. Notify me of new posts by email.
Δ
